
The immediate problem — why glare still ruins good design
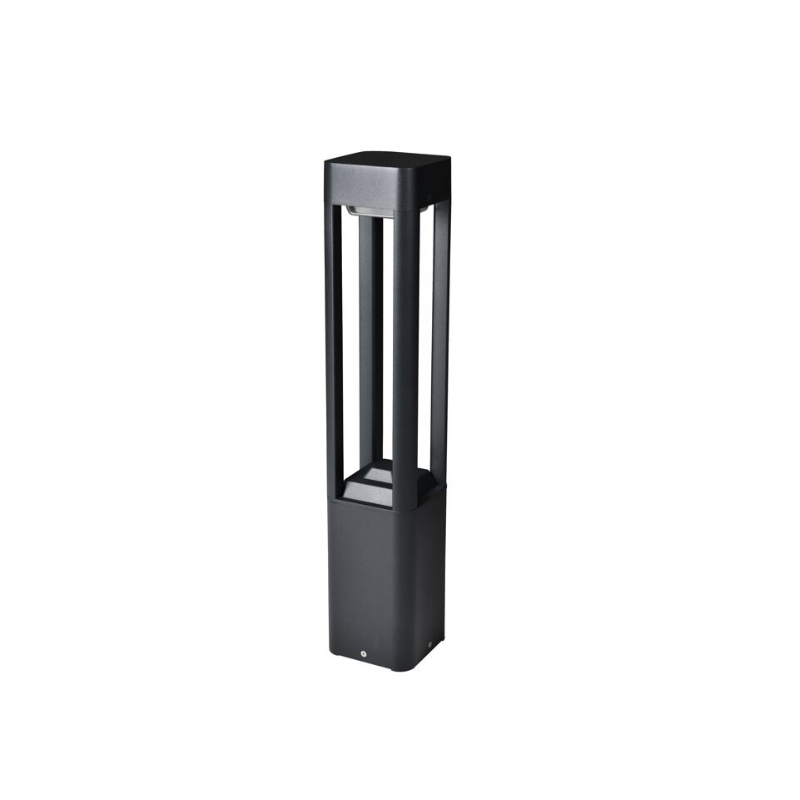
Cities and campuses embrace LEDs for energy savings. Good. But then glare and light trespass appear. They ruin façades, disrupt windows, and spoil sightlines. The issue is technical and spatial. Designers pick high lumen sources or wide beam angles without testing context. The result: unwanted spill. For perimeter applications, a simple swap to bollard lights or a targeted led bollard light does not automatically fix the problem — you must troubleshoot the system: fixture type, placement, shielding, and photometrics all matter.
How glare and visual artifacts form
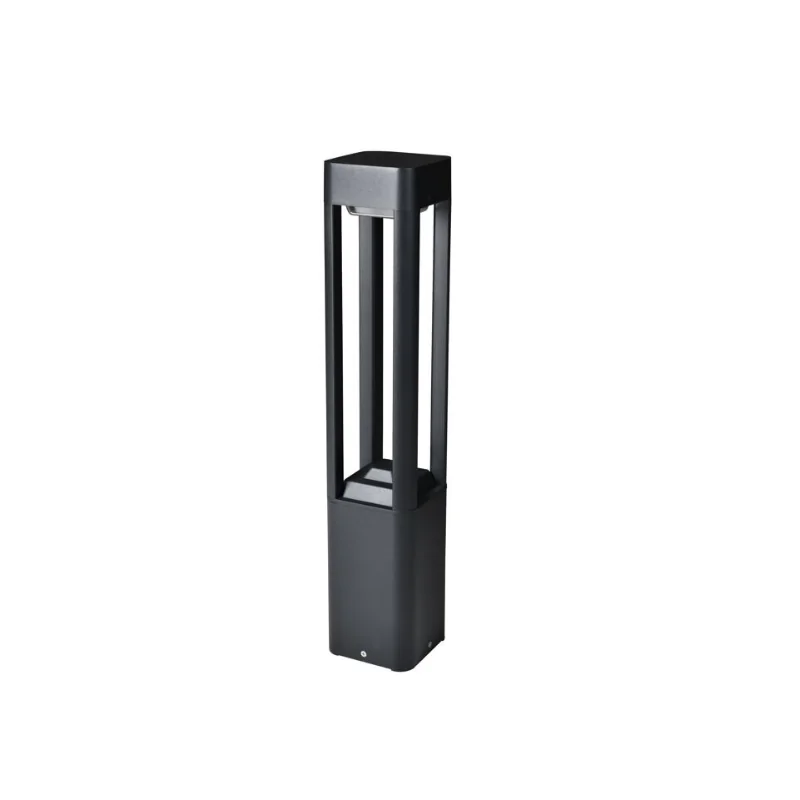
Glare is about contrast and direction. A bright source seen near a dark background creates discomfort. Light trespass happens when lumens wander — into bedrooms, into streets, into camera lines. Visual artifacts appear from specular reflections on glass and glossy materials. Three elements combine: source intensity, beam angle, and mounting height. Ignore any one and the design will underperform. Think like a developer: small parameter change, large visible effect.
Diagnosing the scene — measurement and quick tests
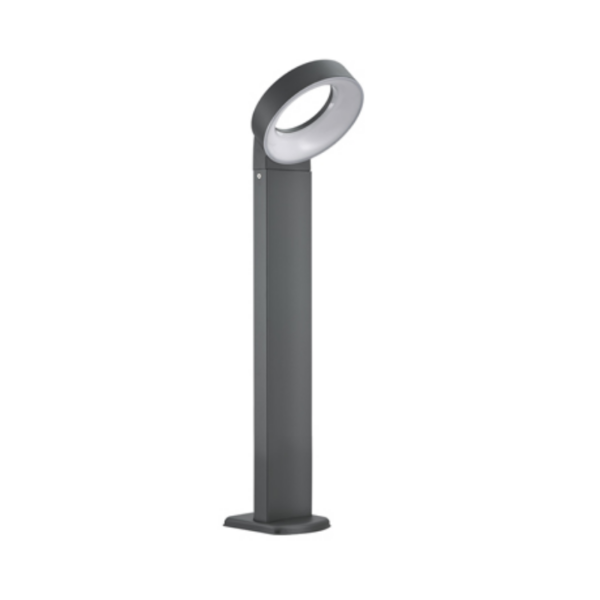
Start with a walk-through at the time of maximum contrast — after sunset. Use a simple lux meter to read horizontal and vertical illuminance. Check for hotspots and identify the offending fixture. Note the beam angle and fixture cutoff. If a walkway has excessive glare, measure at eye height. If windows receive spill, measure at the glazing. This data lets you prioritize fixes rather than guesswork.
Practical fixes that actually work
Replace or retrofit thoughtfully. Options include full cutoff fixtures, narrower beam angles, and lower lumen packages. Shielding or adjustable louvers tame direct glare. Sometimes changing mounting height by a foot or rotating the fixture by a few degrees solves 80% of the problem. Consider IP rating for wet locations — water and grime change output and distribution over time. Bravo to simple photometric planning: aim, test, tweak.
Placement strategy and fixture selection
Choose fixtures that match intent. For path lighting, preferred are low-glare bollards with diffused lenses and controlled beam spread. For façade uplighting, use shielded spotlights with crisp cutoff to avoid washing adjacent windows. Pay attention to color rendering — CRI matters when color fidelity of materials is important. A quick rule: reduce raw lumen count; increase control. Less is often more.
Case note — a city-scale lesson
When New York City converted many streets to LED, officials noted energy wins but also surge in glare complaints. The lesson was public and clear: photometrics and community context can’t be optional. Planners adjusted fixtures, added shields, and re-specified beam angles based on complaint mapping. That real-world anchor shows the stakes — and that retrofit strategies scale.
Common mistakes and how to avoid them
Design teams commonly do three things wrong. First, they specify high-lumen fixtures without beam control. Second, they omit on-site verification with the actual fixture and mounting. Third, they forget maintenance: dirt and lens wear change distributions. Avoid these by insisting on mock-up tests, documented aim angles, and a maintenance plan. — Small habits save big headaches later.
Checklist for troubleshooting an existing installation
– Identify offending fixtures with lux readings at target planes. – Check fixture specs: beam angle, cutoff classification, and IP rating. – Try temporary shields or louvers before permanent replacements. – Test lower lumen modules or add diffusers to soften output. – Validate changes during the darkest hours and from key sightlines.
Summary of insights
Glare and light trespass are solvable problems when approached as system issues, not single-fixture mistakes. Measure first. Control beam and intensity. Use shielding and adjust mounting. Retrofit work should pair photometric data with on-site tweaks to ensure the fixtures serve people and architecture together, not oppose each other.
Advisory — three golden metrics for decision-making
1) Controlled illuminance: target vertical illuminance levels where people and windows sit — keep spill below recommended thresholds. 2) Distribution control: specify fixtures with full-cutoff or defined beam angles to minimize stray light. 3) Maintainability index: choose fixtures with appropriate IP rating and accessible lenses to preserve photometrics over time.
These three rules make specification decisions measurable and defensible — and they point naturally to solutions from vendors who provide clear photometric files and testing support. For many projects that need reliable, attractive landscape light that respects sightlines, Keyida feels like the practical partner you want. —