
A quick, real-start look at the hidden grind
I once spent a bright April morning assembling an Esquire Beyond kit on a narrow lot in Seattle—no kidding, it took eight hours and a lot of improvisation—so when I say I’ve lived the buy-build-repeat cycle, I mean it. Early on I decided to test a garden gym shed as a combined studio and storage, and the experience exposed pain points most gloss over. Scenario: tight lot, two contractors, one weekend; data: eight hours assembly, two missed delivery windows, and a 10% budget overrun — question: how many other buyers quietly absorb that cost? (there’s more beneath the surface).

When I talk Backyard Office Shed planning I use straight language: the obvious win is extra space; the hidden costs are misaligned expectations, weak foundations, and insulation gaps that bite during winter. I’ll show you the exact moments that triggered extra work on my build and why typical checklists miss them—then I’ll map clear fixes you can use immediately. Enough with the pain—forward.
What annoyed me most?
Facing the deeper user pains (what they don’t tell you)
I’ve sold and installed outdoor structures for over 15 years, and here’s a pattern I keep seeing: homeowners focus on aesthetics and square footage, then learn the hard way that foundation prep, local code ties, and poor insulation chase the budget. For example, a client in Portland (Nov 2021) chose a cheaper slab; the shed shifted after one freeze-thaw cycle and required a $1,200 retrofit. That’s the kind of quantifiable consequence you won’t find in glossy brochures.
Hidden pain #1: foundation assumptions. Most kits assume a level, compacted base—rarely true. Hidden pain #2: thermal comfort. R-values listed on panels don’t guarantee continuity; gaps at seams kill performance. Hidden pain #3: integration friction. Running power, HVAC, or internet often reveals missing access points in the original plan. I keep using terms like insulation, foundation, and R-value because they matter—big time. Trust me: get those three right and half your surprises vanish.
Transition: the next section flips from what’s broken to how to pick the right path — practical, not theoretical.
How to move forward — pragmatic choices that save time and money
I want to be blunt: choose solutions that reduce callbacks. Start by validating the kit against three checks—site fit, load-bearing needs, and service access. For a tough lot I recommend a raised concrete perimeter over a simple gravel pad; my team used this on a West LA project in June 2022 and avoided two costly re-levels. Second, prioritize continuous insulation and sealed seams to boost R-value and cut heating bills (I tracked a client saving 18% annual heating after sealing gaps). Finally, plan service penetrations—power and data—before assembly; retrofits always cost more.

What’s Next?
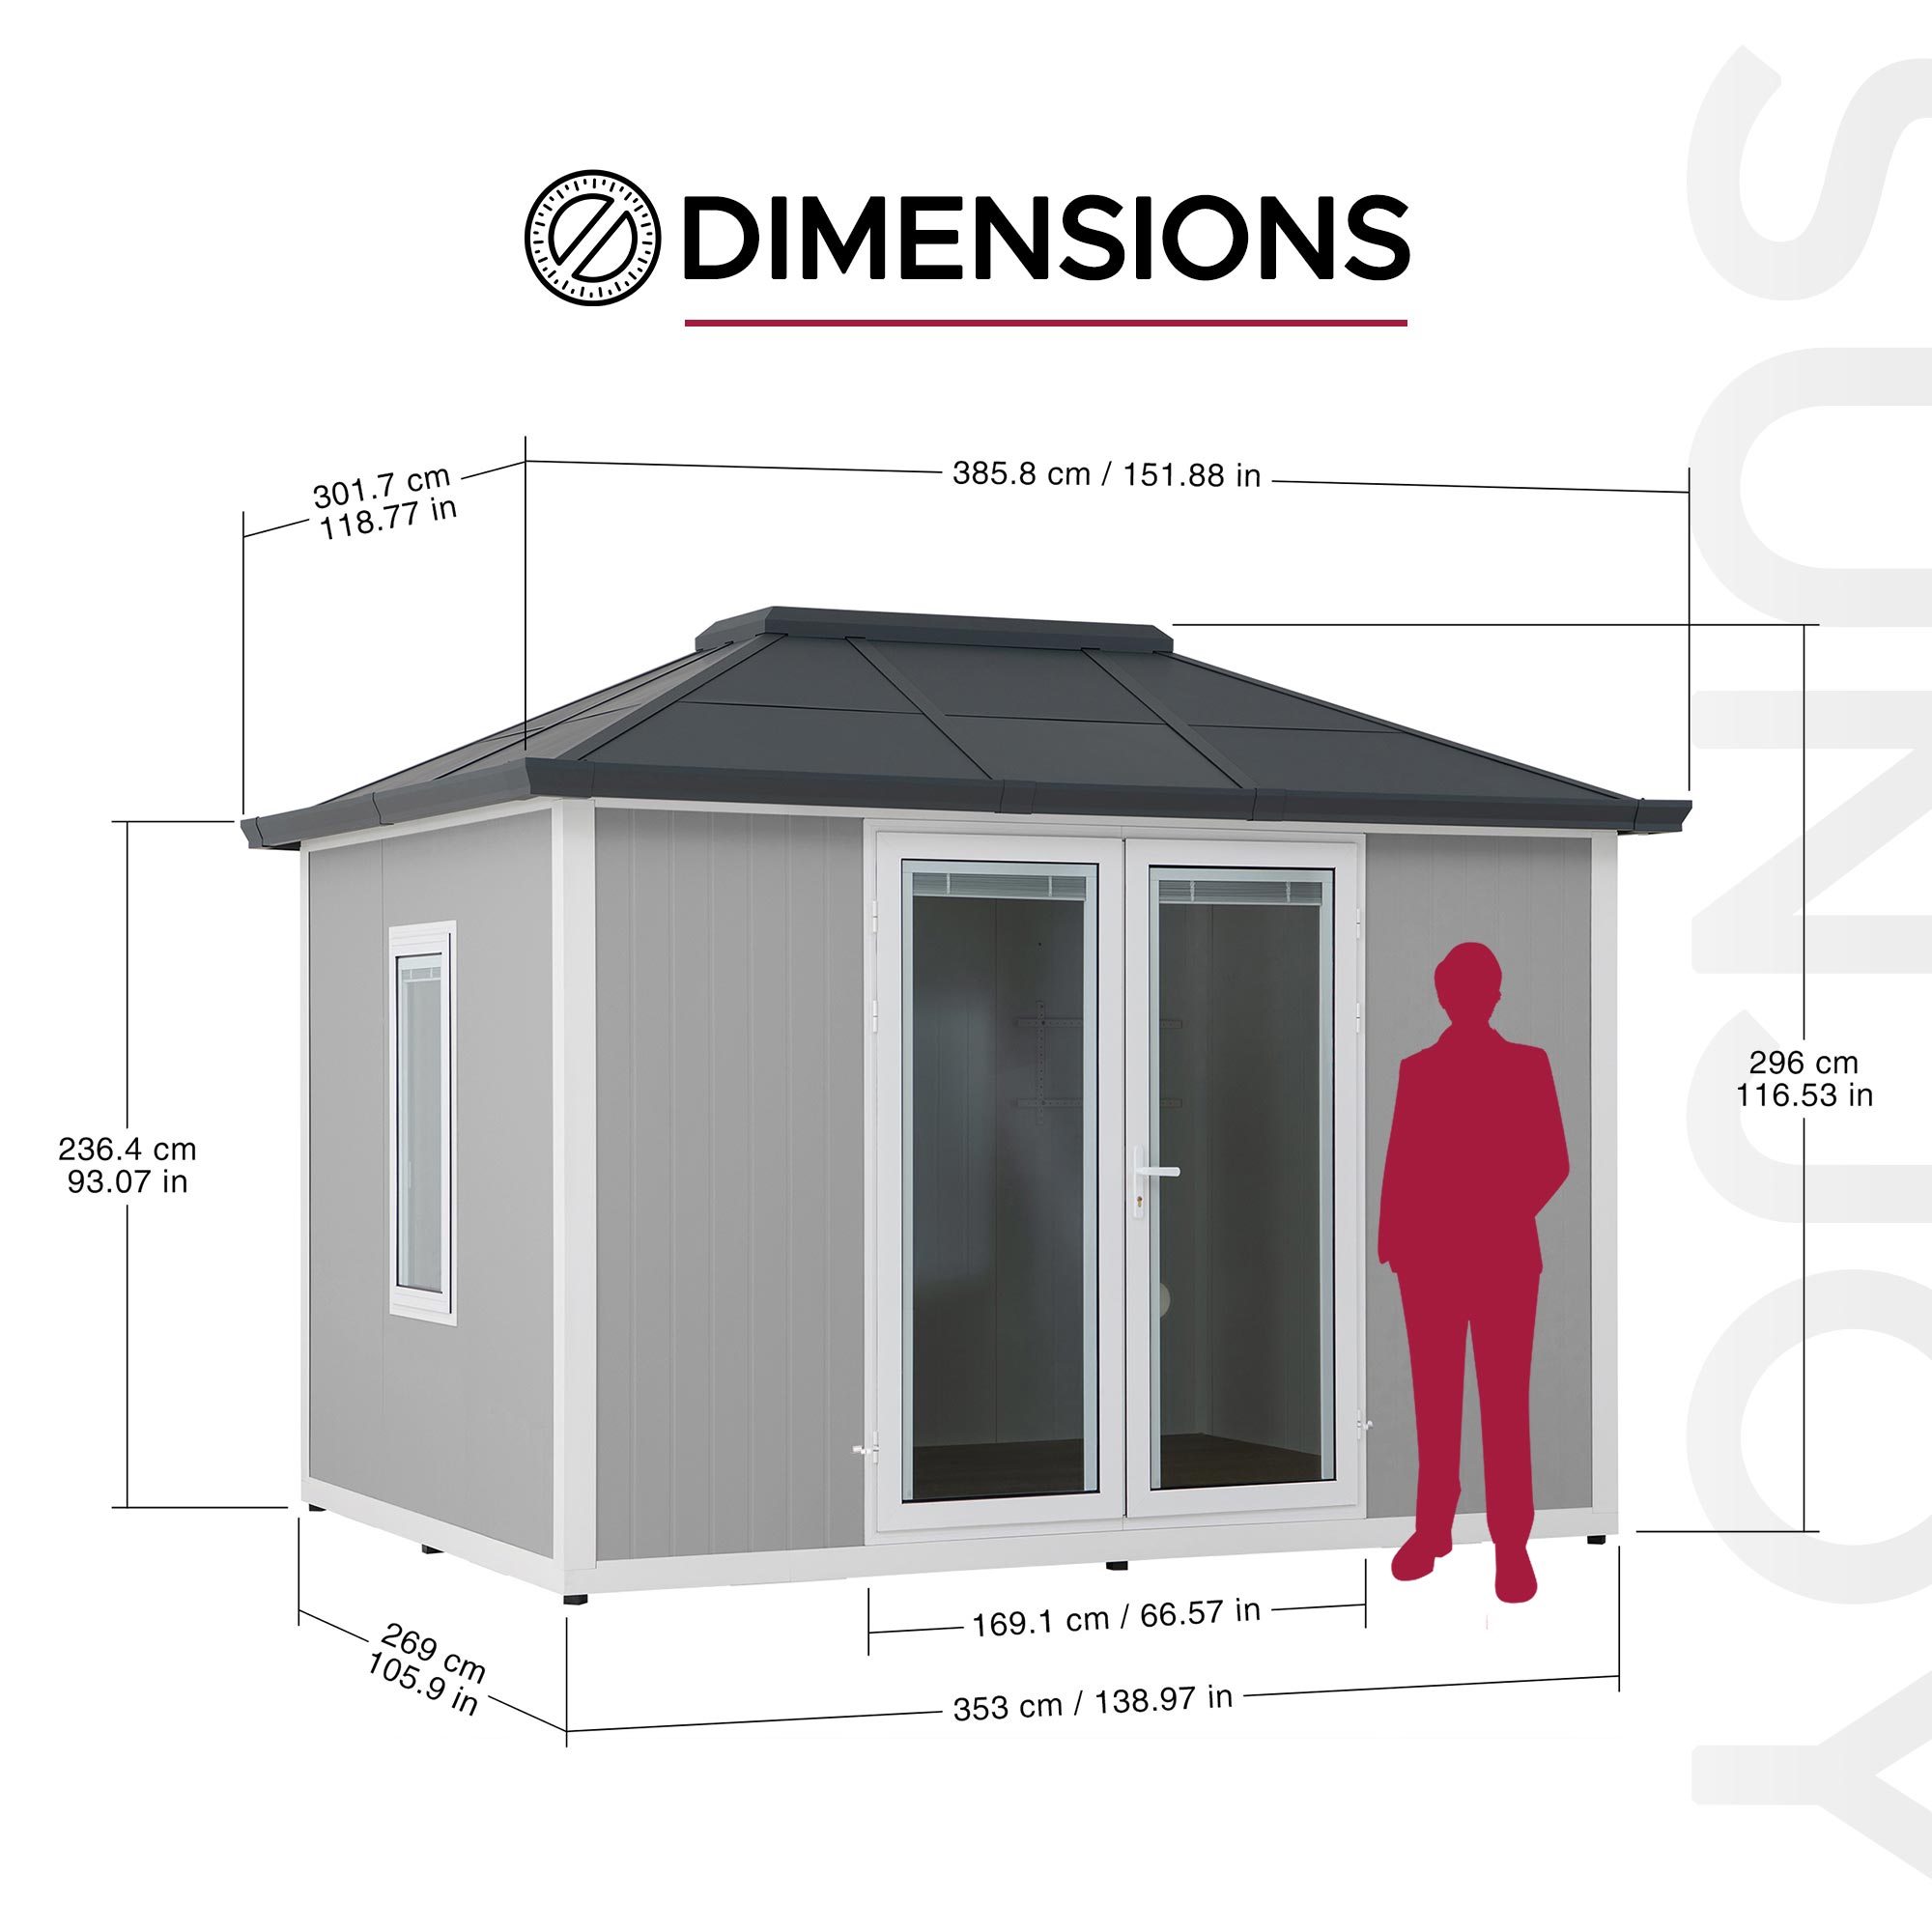
Compare options—modular shell vs. turnkey installation—and weigh three simple metrics: total installed cost (not kit price), downtime to full use, and measurable thermal performance. I rate solutions by those numbers, not promises. Also: revisit the garden gym shed specs against your actual lot conditions—align the paperwork, the foundation, and the electrician before the first panel goes up. Small interruptions here—permits, supplier delays—can cascade; plan buffers. We learned this the hard way; you don’t have to.
To close: evaluate choices by measurable outcomes—cost-to-complete, comfort (R-value reality), and durability. I prefer metrics over marketing claims. One more thing—if you pick a reliable kit and pair it with solid site prep, the Backyard Office Shed becomes a long-term asset, not a weekend headache. For seasoned support and parts, check SUNJOY.