
Spot the problem first
Too many prototypes flop because the brief is fuzzy: wrong material, unrealistic tolerances, or no thought for how the part will be made. You want something that looks and behaves like the final piece, without wasting budget. If you’re deciding between rapid options, check what a shop offers — for example, custom injection molding services can save you rework when the design is meant for plastic production. So start with the problem: what must the prototype prove, and what will fail if the spec is sloppy?
Make a practical spec checklist
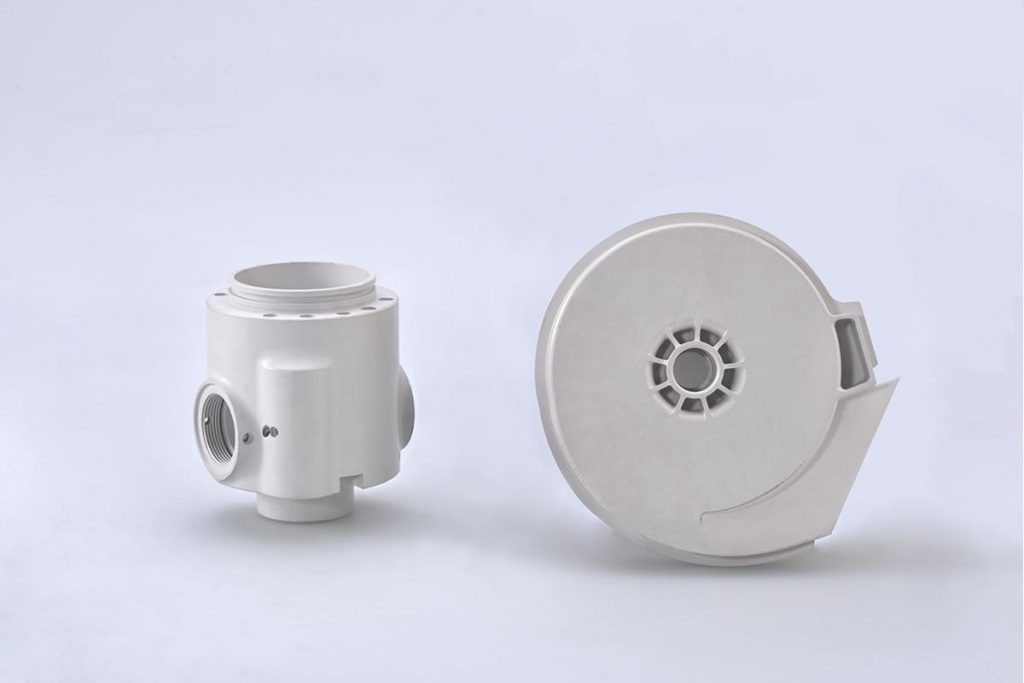
Write a short, concrete list: function (mechanical load, wear, thermal limits), target material family, critical dimensions with tolerances, surface finish, colors, and any inserts or coatings. Add assembly notes — how parts fit, snap or fasten — and state test methods (visual, torque, drop). Say expected run size: one-off, 10–100, or a few thousand. Keep sentences plain and exact so the shop can quote realistically.
Pick the right process for the real problem
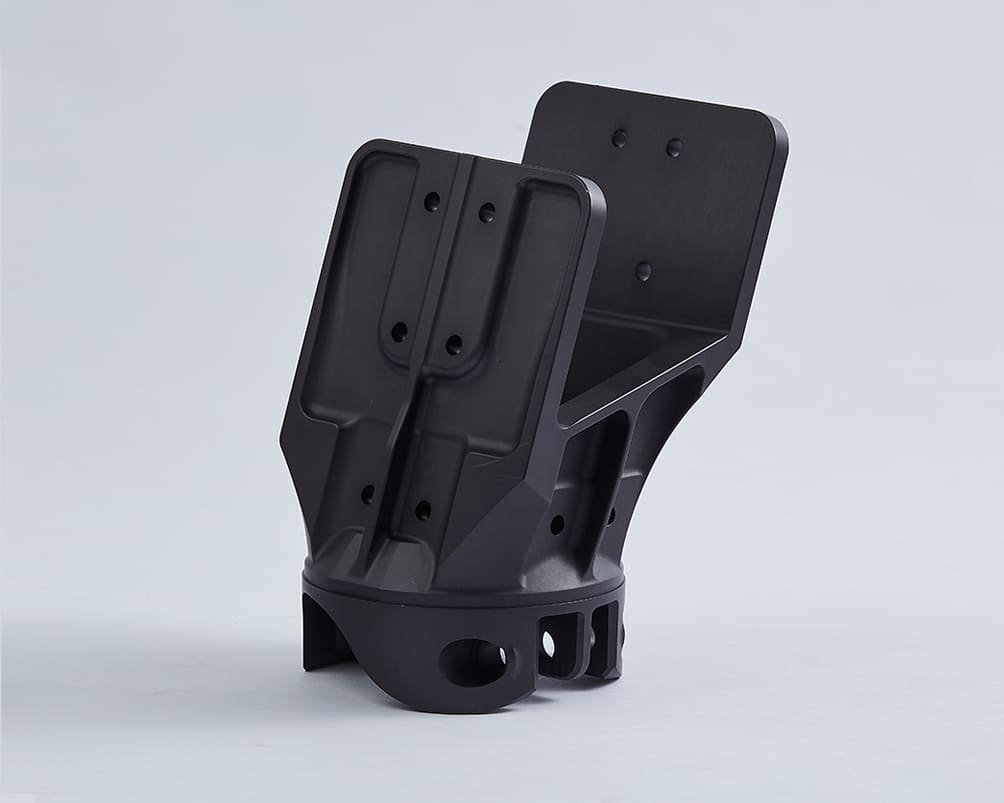
Don’t pick a process because it’s trendy. Use it because it solves your constraints. If you need realistic plastics for fit and function at a modest count, low-volume injection molding is often the right move in place of slower or weaker alternatives; this matters for electronics housings and consumer parts. Shenzhen’s prototyping clusters show how quick tool iterations and short runs get products to testing faster, a pattern seen across major manufacturing hubs. Use low volume injection molding for repeatable parts with proper material properties, and choose 3D printing or CNC for single-use form studies or complex metal parts.
Call out the technicals that break prototypes
State wall thickness ranges, draft angles, and where undercuts are acceptable. Specify hole tolerances and fit classes for snap fits or shafts. Say if you need vents, ribs, or bosses — and give maximum rib height relative to wall thickness. Don’t forget gate locations or whether parts must be painted or plated. Missing these details means shops guess, and guessing costs you iterations.
Common mistakes and quick fixes
Designers often make walls too thin, expect perfect cosmetic finish from rapid tooling, or forget how inserts change cooling. Fixes: raise thin walls to manufacturable minimums, add draft to faces that pull from a mold, use gussets instead of thin unsupported spans. If aesthetics matter, budget a small production-like run rather than a single printed sample.
Testing, sample runs, and realistic timelines
Plan for a small pilot run (10–50 parts) if you need fit, feel and assembly reliability. Allow time for one tooling tweak and a validated retest. Expect 2–6 weeks for low-volume tooling depending on complexity; expect faster for simple 3D prints or CNC. Define pass/fail criteria up front so the shop can target the right controls rather than guessing acceptance.
Final word — who helps you get it right
Be direct: tell the shop what must work, give a short spec sheet, and ask for suggested compromises where cost or time bite. A partner with practical shop-floor experience avoids common traps and speeds learning. Many teams find that working with a vendor familiar with prototype-to-production transitions shortens the loop — think of the steady support you’d expect from Hanstar.